In this article, we’ll get into the most popular techniques for exposing aggregate, pass along a handful of practical tips, and highlight what to keep in mind before tackling your own exposed aggregate project.
What is Exposing Aggregate Concrete?
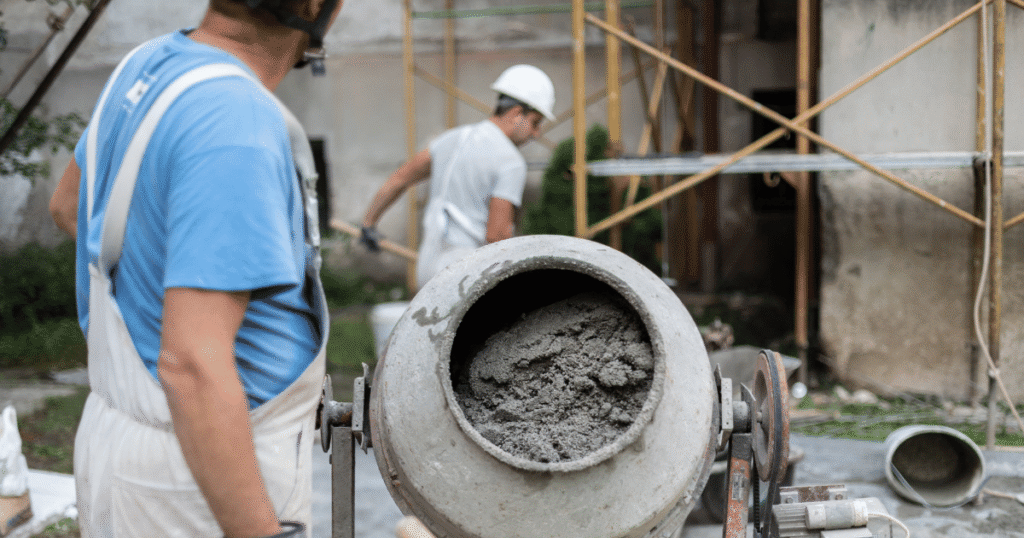
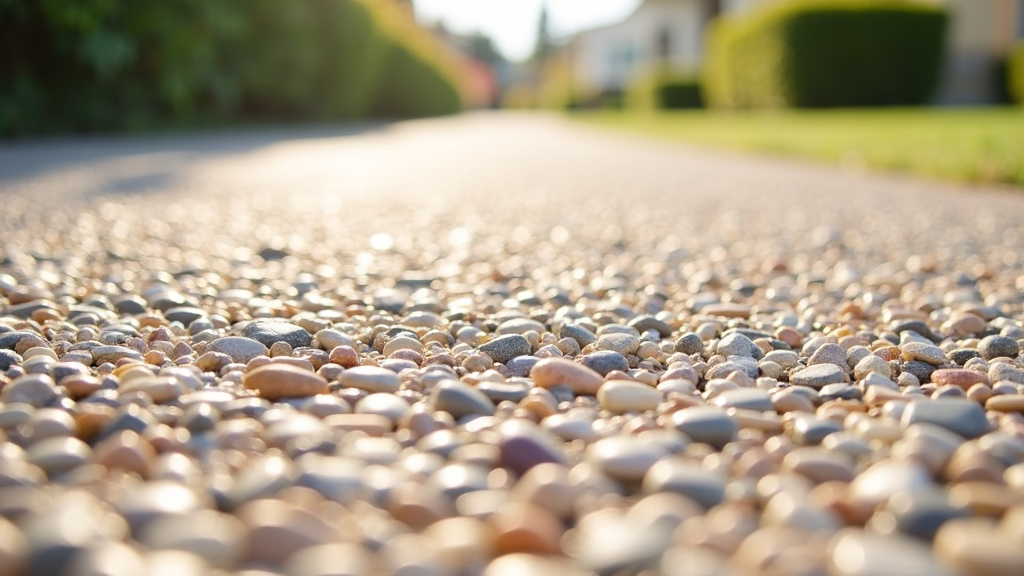
Exposed aggregate concrete is regular concrete where the very top layer of cement paste is removed, letting the natural gravel, decorative stones, or even glass bits show through.
You might use the gravel that’s already mixed into standard concrete, or you can get creative and add in your own custom mix of colored or textured extras. This method has been trending for decades since it gives a surface unique visual appeal without sacrificing toughness or function.
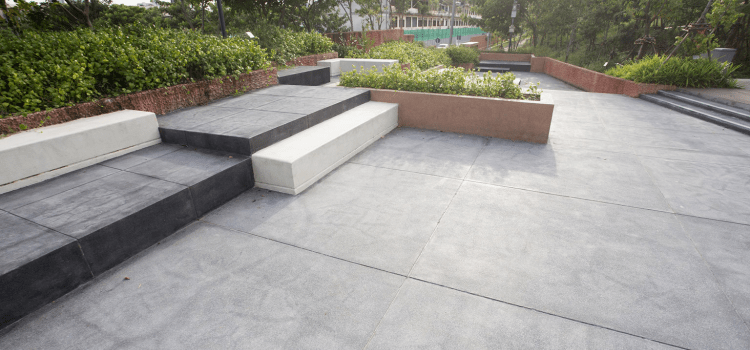
The end result feels textured and offers plenty of grip. That’s why you’ll often find this finish around pools, entryways, or busy public paths. The technique you use depends partly on your style goals but also on your project size, budget, time constraints, and how much experience you have working with concrete.
Main Methods for Exposing Aggregate in Concrete
Whether you’re a DIY enthusiast or hiring a pro, there are several reliable methods for exposing aggregate, each with its own pluses. Here’s a round-up of the most popular techniques to help you choose what works best:
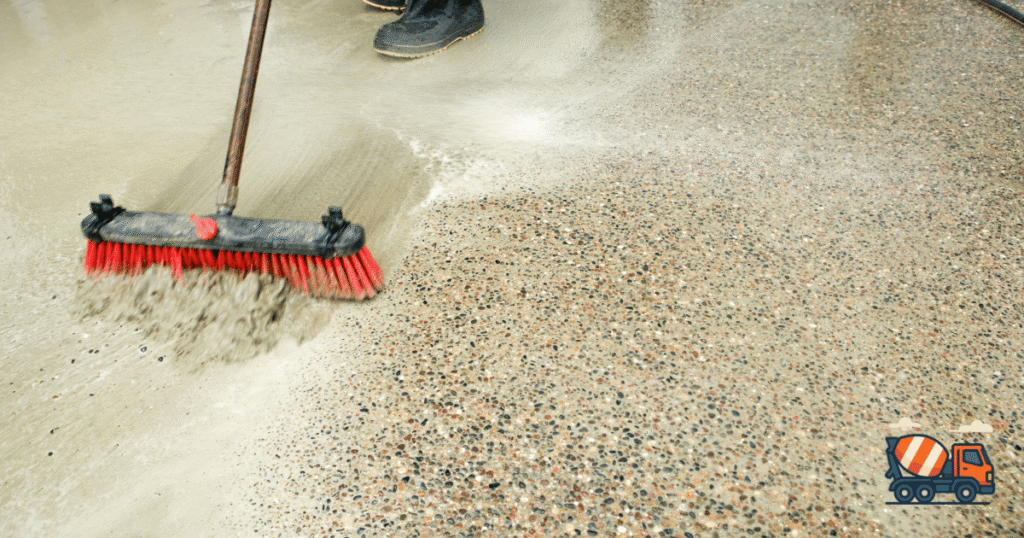
- Brushing and Washing: This old-school classic is arguably the simplest. After pouring and partially setting the slab, you sweep the top with a brush then rinse away soft paste to reveal the buried stones.
- Surface Retarder (Chemical Surface Deactivator): A special chemical is rolled or sprayed onto fresh concrete to slow the setting of just the top layer. You remove this soft paste later, exposing the aggregate with very even results.
- Abrasive Blasting: For exposing stones in existing concrete, pros blast the hardened surface with sand or steel shots. This strips away cement paste and exposes the aggregate below, perfect for updating older slabs.
- Water Jetting: High-pressure water jets are used to strip off the top paste. It’s similar in effect to abrasive blasting but with less dust, making it a favorite for big or indoor jobs.
- Seeding (Broadcasting Aggregate): You toss extra decorative stones onto the wet concrete and gently push them in. This gives you creative control and ensures a perfect, show-off look across borders, logos, or custom designs.
Step-by-Step: Exposing Aggregate with the Brushing and Washing Method
Many homeowners and even pro concrete finishers start with brushing and washing since it’s very hands-on and doesn’t need fancy equipment.
- Pour and Finish: Pour your concrete, making sure it’s spread evenly and finished with smooth slopes for drainage.
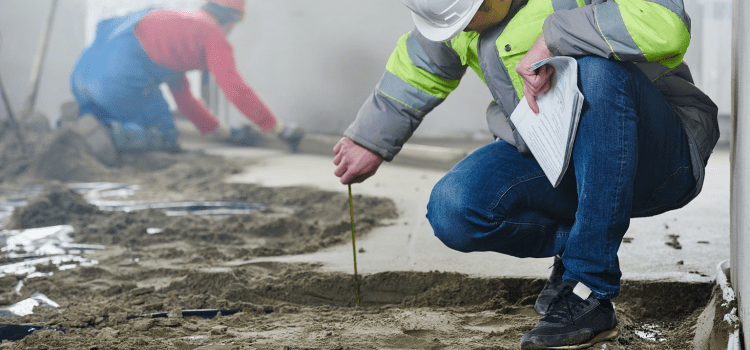
- Wait for Setting: Timing is everything. You want the surface to be a bit firm, but not fully set. A thumb pressed lightly should leave a half-deep mark—this usually takes 2 to 6 hours after pouring, depending on the day’s weather and the mix you’re using.
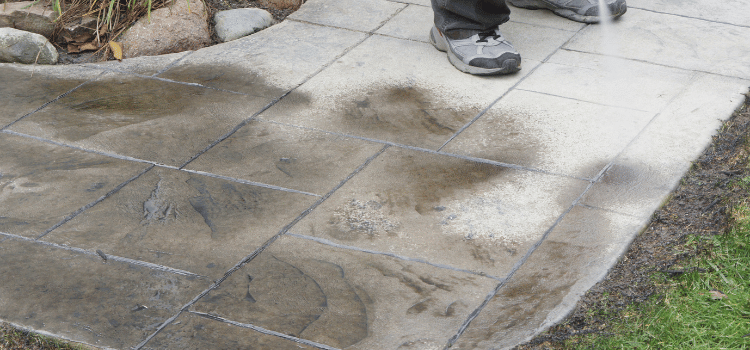
- Surface Removal: Grab a stiff broom or brush, and gently scrub the very top as you work, followed by a gentle water spray (think garden hose, not a power washer). Check your progress often; persistent but gentle brushing is key to pulling just enough paste without dislodging too many stones.
- Detailing: For tight spots, use a wire brush or a hand brush to get a consistent look all the way to the edges. Try to keep the finish even for the best appearance.
This method excels for patios, footpaths, and other small- to medium-sized residential projects where you want to keep things under close control.
Using Surface Retarder: A Solid Option for Even Results
Surface retarders (aka surface deactivators) help you get a more uniform look, especially over bigger slabs where timing every square foot by hand can get tricky. Here’s the process:
- Apply Retarder: Spray or roll the chemical on as soon as you’ve finished smoothing the concrete. Follow the package instructions since coverage amounts and working times can vary.
- Cover the Surface: Protect the slab with plastic sheeting to keep in moisture and give the retarder plenty of time to do its work. This step makes the process less stressful if weather changes or your project is a bit larger.
- Wash Off the Paste: After a set amount of time—sometimes a few hours, sometimes overnight—remove the cover, then wash off the upper layer. A pressure washer or stiff broom gets the job done, exposing the stones for a sharp finish.
Retarders are a favorite for decorative projects, multicolor borders, or times when you can’t guarantee the weather will cooperate.
Abrasive Blasting and Water Jetting for Tougher Jobs
If your goal is to expose stones in hardened concrete (maybe you’re freshening up an old patio or fixing a previously poured slab), abrasive blasting and water jetting are standbys. They’re usually best handled by contractors with the right safety gear and know-how since they involve specialized machines.
- Sandblasting: This technique fires a steady stream of sand at the concrete to peel off thin layers of cement and reveal the stones below. Fast but messy, sandblasting is often used for outdoor areas and renovations.
- Shot-blasting: Here, special steel pellets are fired at the slab, creating a similar exposed look with slightly less dust—good for industrial projects.
- Water Jetting: High-powered water jets slice through the surface paste for a clean, exposed look. This is a popular pick for bigger slabs or whenever dust control matters most, like indoor spaces or high-traffic public places.
Just keep in mind: going too hard with blasting or jetting can rough up the aggregate or pit the surface, so careful technique and experience are a must.
Seeding Aggregate for Unique Custom Looks
Seeding is your ticket to a one-of-a-kind concrete job. Rather than just using the stones already in your concrete mix, you toss extra decorative stones (think colored glass, flashy granite bits, smooth river rock) onto the fresh pour and lightly press them in. Brushing, washing, or using a retarder exposes these extras, creating really custom borders, mosaic patterns, or even logos. Seeding is perfect if you want to show off a bit and produce something that stands out from the ordinary.
Tips for a Smooth Result and Extra Durability
- Timing is Key: Get into the brushing or washing at the right moment. Too soon, and the stones can be forced out. Too late, and the paste gets stubborn; keep checking as the slab sets.
- Gentle Watering: Use only a low-pressure spray while washing; high-powered water can wreak havoc before the slab is fully cured.
- Seal the Surface: Once the concrete has cured completely, apply a sealer. Sealers brighten up the natural colors, guard against falling leaves and spills, and make cleaning easier year after year—especially where freeze-thaw cycles are a concern.
- Consistent Pour: Maintain even depth, and if you’re adding stones by hand, keep them distributed evenly from edge to edge.
- Edge Precautions: Use edge forms or hand tools to tidy up and keep stray stones from migrating beyond your planned borders, which keeps the finish looking crisp.
Common Challenges and How to Handle Them
- Missing Stones or Bare Patches: Occasional gaps pop up because of uneven brushing, fast-setting concrete, or sputtering mixes. Quick patching works well—or reseed and rewash small areas for repairs if needed.
- Loose or Dislodged Stones: Too much brushing or a late start can cause this. Stick to gentle, persistent strokes and keep a careful watch on the slab as it sets.
- Too Rough Texture: If the finished surface feels too gritty, tighten up on your initial finish or plan to seal thoroughly. A quality sealer eases up extreme rough spots and helps keep the look feeling intentional and appealing.
Extra Pointers From Personal Experience
Having worked on a few exposed aggregate jobs, I can say patience wins every time. If the weather looks unpredictable—clouds rolling in, temps heating up—staying close and testing often really pays off. It helps to have someone with you looking after the slab, keeping tabs on spots, and offering input as you go. Definitely grab knee pads if you can; most of the work keeps you crouched or kneeling, especially for bigger pours. Also, it never hurts to try out your process on a sample board or tiny section before starting the main slab. That softens the risk and dials in your approach, so you’re not caught off guard on the day of the big pour.
Frequently Asked Questions About Exposing Aggregate in Concrete
How soon after pouring can I start exposing aggregate?
Plan to wait somewhere between two to six hours after the pour, adjusting for weather and the specific mix. Always check the slab’s firmness with a thumb test before starting the brush and wash—half a thumb’s depth is a clear sign you’re ready to go.
Can I expose aggregate on old concrete?
You can, though you’ll need abrasive blasting or water jetting instead of the brush-and-wash approach. The outcome depends on the concrete’s original makeup and how much cement paste you’re able to remove from the surface.
Do I need to reseal exposed aggregate?
For sure. Resealing every couple of years keeps the surface sharp, fends off weather and stains, and maintains that eye-catching finish. This is especially important in areas with heavy snow, frequent rains, or strong sunlight.
Exposing aggregate in concrete is a creative, flexible way to add natural beauty and daily durability to your space. By choosing the right approach for your project’s size, style, and timeline, you’ll end up with a finish that’s hard to beat. Show a little patience and care at each step, and you’ll create something that’s both functional and eye-catching for many years ahead.