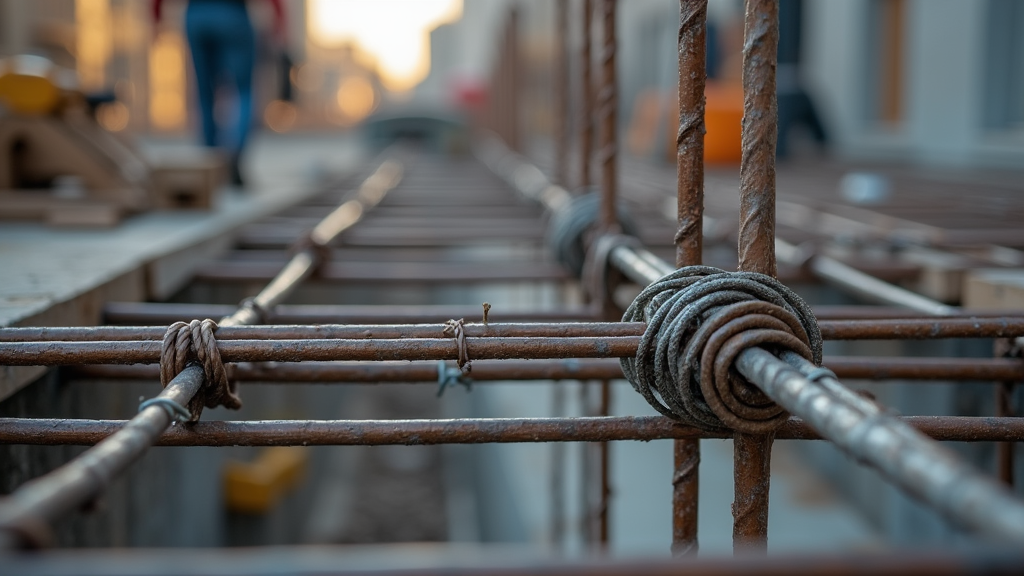
Tying rebar in concrete isn’t the flashiest part of a construction job, but it’s one of the most important.
Get it right, and your concrete project will have the strength and stability to last for years.
Get it wrong, and well… let’s just say cracked slabs and structural issues aren’t a great look. Whether you’re building a backyard patio or helping frame a large foundation, the process of tying rebar can make or break the outcome, literally.
Step By Step Guide: How To Tie Rebar In Concrete Neatly
Getting neat, consistent ties is mostly about technique and rhythm. Once your hands learn the motion, everything gets faster and more accurate.
Steps for tying rebar:
Cut your wire – 12-inch pieces are ideal. Precut a bundle to keep things moving.
Loop around the bars – At the crossing point, wrap once or twice.
Twist the wire – Use pliers or your tying tool to snug it up (3–4 good twists).
Bend down the ends – Tuck them to avoid cuts and keep things tidy.
 Pro Tip: Don’t overtighten! It’s tempting to crank down hard, but you risk snapping the wire or shifting the bars.
Why Tying Rebar In Concrete Matters

At first glance, tying rebar seems simple. Just some wire and a few twists, right? But doing it correctly ensures the steel reinforcement grid stays exactly where it needs to be when the concrete gets poured.
Movement during the pour can lead to weak spots and uneven weight distribution, and that’s the kind of trouble you don’t want down the line.
What good rebar tying does:
- Holds your rebar layout firm during concrete pours
- Prevents steel bars from shifting or floating
- Keeps the entire grid consistent with your design plans
- Enhances the strength and durability of your concrete over time
It’s not about tying every bar into a rigid frame, just stable enough to stay in place.
✅Pro Tip: Good ties create flexibility without compromising structure.
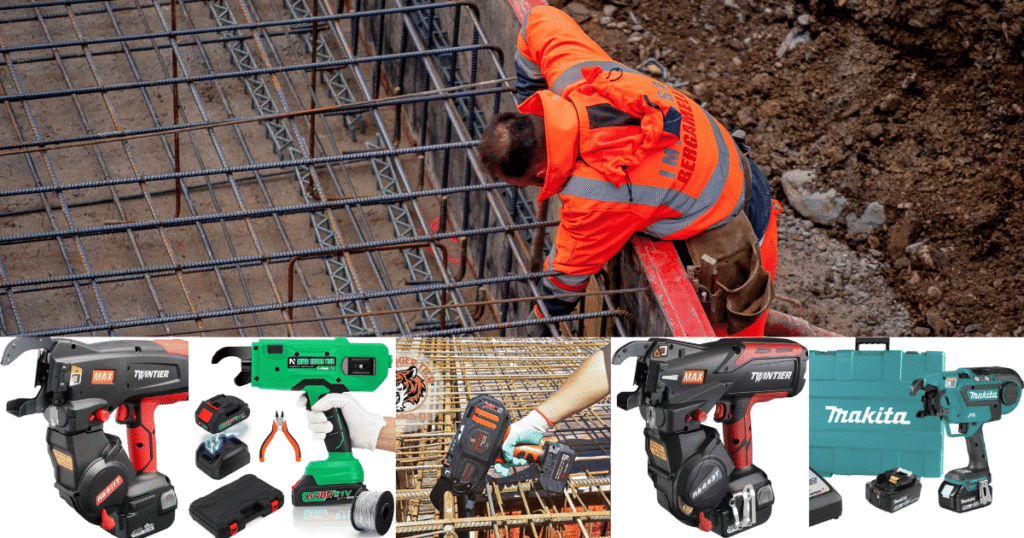
Essential Tools For Tying Rebar In Concrete
Before you even twist your first wire, make sure you’ve got the right tools on hand.
The right setup will save your hands, your time, and your sanity.
Basic gear checklist:
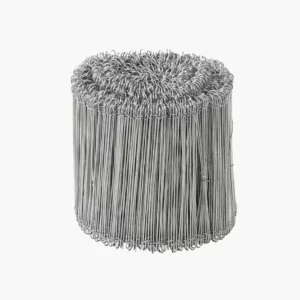
- Rebar tying wire: 16-gauge black annealed is the go-to, but galvanized or stainless is better for wet environments.
- Pliers or a rebar tying tool: Manual pliers for small jobs, battery-powered tying guns for big ones.
- Wire cutters: For trimming ends clean and fast.
- Gloves and safety glasses: Trust me, wire ends hurt—and they fly when you twist.
💡 Pro Tip: Invest in a decent tying tool early. Even a mid-range battery-powered gun can drastically speed up big projects.
Common Types Of Rebar Ties
Not every tie is built the same. Learning a few key types gives you the flexibility to handle different rebar setups confidently.
You’ll want to choose the right tie based on the layout and purpose of your reinforcement.
Popular tying styles:
- Snap Tie – Quick and basic. Ideal for flat mats and simple intersections.
- Saddle Tie – Offers better hold for intersecting bars, especially for beams and columns.
- Figure Eight Tie – Super secure. Best for corners or high-stress points.
- Double Loop Tie – Extra grip when you’re dealing with heavy pours or vibration.
The more tie types you learn, the better prepared you’ll be when your rebar layout throws you a curveball (literally).
Efficiency Tips For Tying Rebar In Concrete
Tying rebar can be repetitive. If you’re not careful, it can also become exhausting and slow.
Luckily, a few smart habits can keep the workflow smooth and your body in better shape by the end of the day.
Tips for working smarter:
- Work in pairs, one sets, the other ties.
- Use a battery-powered tying tool for large jobs.
- Organize your tools and wire before starting.
- Stretch and take breaks every hour.
- Use a rebar stand or elevated setup to reduce back strain.
Taking the time to prep your workspace really pays off, especially on longer projects.
Avoiding The Common Mistakes

Even pros slip up now and then. But if you can catch the most common rebar tying mistakes before they cause bigger issues, you’ll save yourself a lot of time and frustration.
What to watch out for:
- Loose ties – A simple tug should not move the bars.
- Missing intersections – Every crosspoint needs attention unless your plans say otherwise.
- Too-short wire – Always better to have a little extra length.
- Bad layout before tying – Double check before you wire things into place.
- Skipping gloves or safety glasses – One poke in the hand or eye is all it takes to ruin your day.
👷 Safety first: Always gear up and check your posture, especially when bending over ties all day.
Quick FAQ: Tying Rebar In Concrete
Q: How tight should my wire ties be?
A: Just snug enough to hold. No need to force the bars together—if it bends or kinks, it’s too tight.
Q: Can I use zip ties instead of wire?
A: Only for non-load-bearing or temporary work. Plastic can break or degrade over time, especially under heat or stress.
Q: Do I have to tie every intersection?
A: Not always. Some projects require tying every other one. Always check your plans or ask your supervisor.
Q: What’s the fastest way to tie a lot of rebar?
A: Precut your wire, work in a team, and use a battery-powered tool if the job’s big enough.
Final Remarks and Overview
If you’re ready to take your concrete work to the next level, improving your rebar tying is a great place to start.
It might not be the most glamorous part of the job, but when your slab holds firm years down the line, you’ll be glad you took the time to get it right.
Quick recap:
- Get the right tools and high-quality wire
- Practice the core tying styles
- Work efficiently and always prioritize safety
- Avoid common mistakes with a quick double check at every step
Tying rebar in concrete doesn’t have to be complicated. With the right approach and some good habits, you’ll be tying cleaner, faster, and stronger in no time.