
Today, I will explain how to broom finish concrete and how mastering this technique can significantly elevate the quality of your concrete projects, ensuring beauty, functionality, and safety.
Broom finishing concrete is a great way to add grip to areas that need tread, and by doing so we can minimize falls, slips, and other accidents due to slippery surfaces.
What Is Broom Finish Concrete
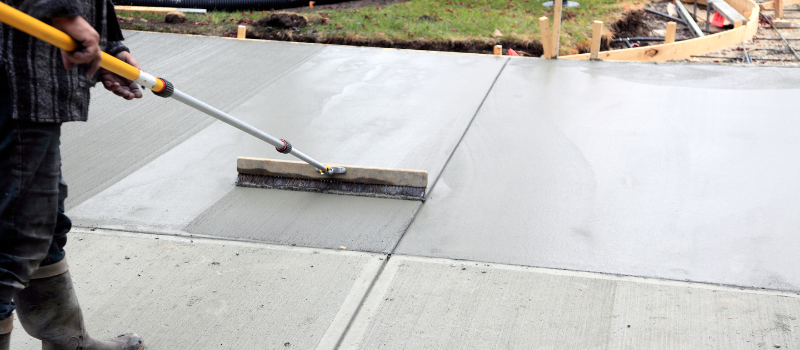
Broom finish concrete is exactly what it sounds like, concrete that’s been finished with a broom.
After the concrete has been poured and leveled, a broom is dragged across the surface to create fine lines.
These lines add texture to the surface, which helps with traction and gives it a clean, professional look.
You’ll see broom finish concrete used in:
- Driveways
- Sidewalks
- Patios
- Garage floors
- Pool decks
Basically, anywhere you want durability and grip.
Why Broom Finish Concrete?
A broom finish isn’t just easy to do; it also has real benefits.
Here’s why broom finish concrete is a solid choice:
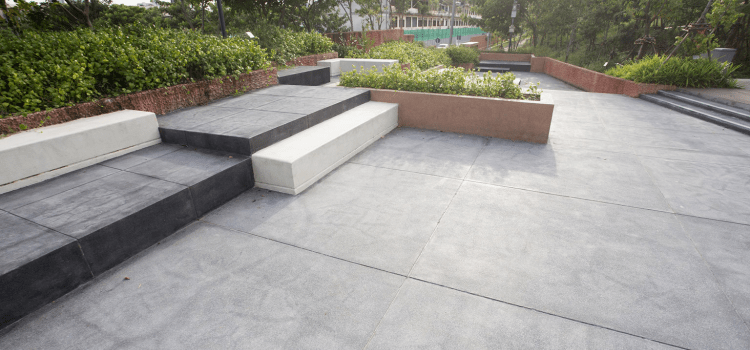
- Slip resistance: Great for rainy areas or around pools.
- Cost-effective: No fancy tools or expensive materials needed.
- DIY-friendly: Minimal equipment and easy for beginners.
- Clean and classic: Timeless appearance that works with any outdoor space.
- Low maintenance: Just sweep and rinse to keep it looking fresh.
So yeah, it’s not flashy, but it gets the job done.

How To Broom Finish Concrete In 5 Steps
This is a simplified process of how to broom finish concrete in a 5-step process. The process is straightforward and can be done using minimal tools.
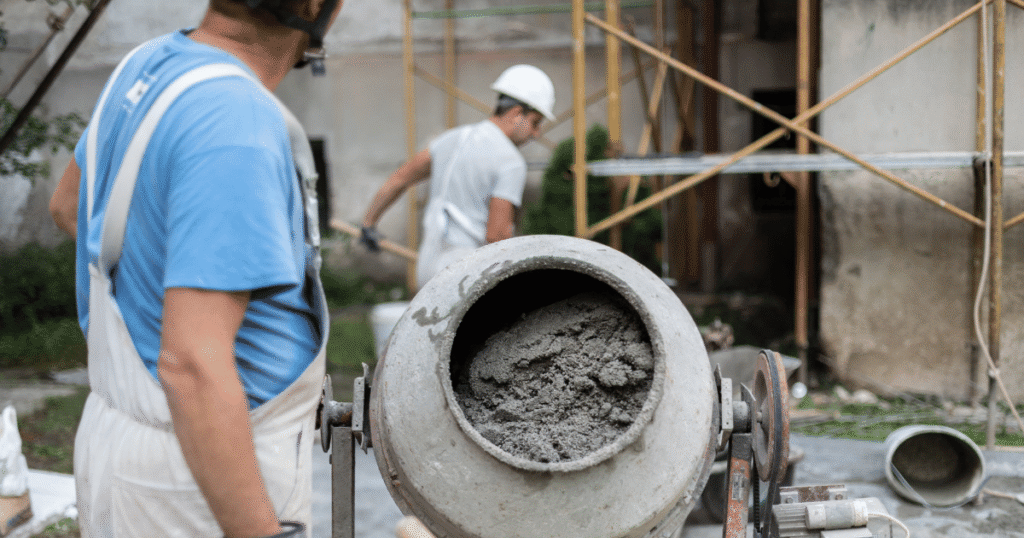
Prepare the Concrete: Start by pouring and leveling the concrete surface. Ensure that it is properly compacted and free of any debris or excess water.
Trowel the Surface: Once the concrete is firm enough to support your weight but still workable, use a steel finishing trowel to smooth and level the surface. This step helps create a flat and even base for the broom finish. Move the trowel in straight lines, overlapping each pass slightly, until the entire surface is troweled. This will also bring more cement to the top and allow for a harder concrete surface.
Timing is Key: Wait until the troweled surface is no longer wet but still has some moisture and is workable. This usually occurs within a few hours after troweling, depending on the weather conditions. If it is very hot it can be a matter of minuets.
Choose the Right Broom: Select a broom with medium to stiff bristles, preferably made of nylon or polypropylene. This type of broom will create the desired texture on the concrete surface.
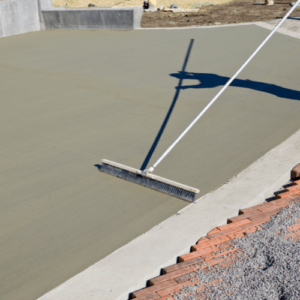
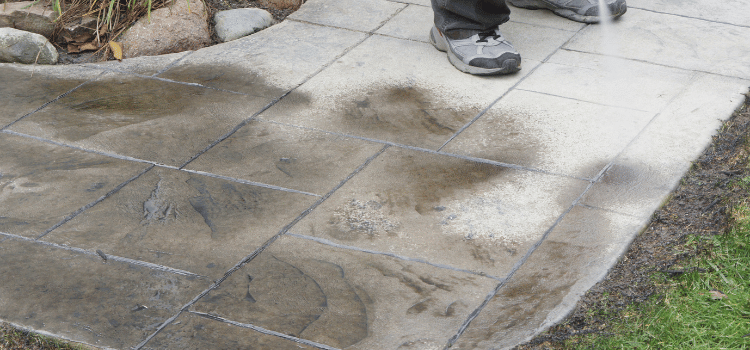
Begin Brooming: Starting at one end of the concrete, gently drag the broom across the surface in a straight line. Use consistent pressure and maintain a steady pace to achieve an even texture. Continue this motion, overlapping each pass slightly until you reach the opposite end. Rebroom if you like more tread, if you want deeper tread, use a slightly heavier broom.
Tools Needed To Broom Finish Concrete

Besides the basic concrete tools needed to place and finish concrete, brooming concrete can be done with many types of broom heads, and finding or making poles for further reach when brooming can be made from any kind of extension pole or stick.
In most cases, after the concrete has been troweled and left for a period of time, the brooming can begin!
What you will need for brooming concrete:
1. A medium firmness broom:
The standard broom around the home will usually be enough to give your concrete the texture or grip that it needs. If using a hard bristle broom, lines will be bigger and will scratch more into the surface, if the bristles are too soft, they will not scratch the concrete enough.
2. Extension pole:
If your concrete project is too wide to reach the broom out over the concrete, adding an extension pole or handle to the existing broom handle can make all the difference. Extension handles can be made from old poles, long light sticks, or bamboo, and these can be strapped or taped up giving the user much more reach for maximum brooming and fewer broom line joins.
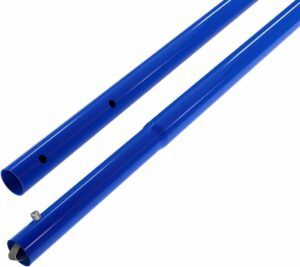
Note: There are 3 or 4 main types of poles and attachments so be careful to choose the ones that fit together correctly!
Keep In Mind When Planning A Broom Finish
Throughout my career, I have successfully completed numerous concrete projects, specifically focusing on achieving a broom finish.
Having worked for the council, where my responsibilities included renovating street footpaths and driveway crossings/entrances, I have witnessed the significant impact that constant vehicle usage can have on these surfaces.
While some may argue that the broom finish lasts, in my experience, it tends to wear down quickly.
If you are planning to pour concrete in a high-traffic area, I strongly recommend considering a maggie swirl finish instead. This technique involves using a magnesium float to trowel small sections of the concrete (reaching as far as your arm can extend).
Once a layer of cement paste is formed, proceed to create swirling motions with the magnesium float, shaping them into figure 8-like patterns. This process results in a rougher texture compared to the broom finish, offering enhanced durability and longevity.
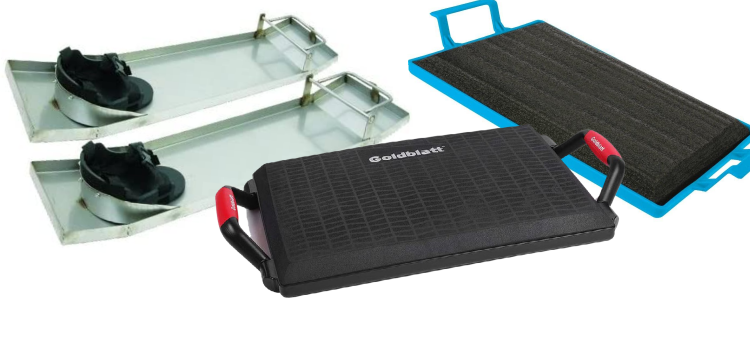
For wider areas use a set of concrete knee boards to get out over those normally hard-to-reach places. Concrete knee boards allow us to position ourselves on top of the concrete with minimal indentation. Great to get up against walls or around pipes when the concrete is still too wet to walk on.
Summary On How To Broom Finish Concrete
This is a simplified process of how to broom finish concrete in a 5 step process. The process is simple, and straightforward, and can be done by using minimum tools.
Place and prepare the Concrete
Trowel the Surface
Timing is Key
Choose the Right Broom
Begin Brooming
Happy Concrete Brooming
In conclusion, the broom finish has long been a popular choice for concrete projects. However, its durability and ability to withstand the wear and tear of constant vehicle usage have come into question.
Through my experience working on street footpaths and driveway crossings, I have observed that the broom finish tends to wear down relatively quickly.
For those seeking a longer-lasting alternative, I recommend considering the maggie swirl finish. By employing a magnesium float and employing a swirling motion in the shape of figure 8, this technique creates a rougher texture that enhances the concrete’s resilience.
Whether it’s a high-traffic area or simply a desire for increased longevity, the maggie swirl finish offers a superior solution for your concrete projects.
Choose wisely, and let your concrete stand the test of time.
Great step-by-step guide to broom finishing concrete! Timing and technique are key—waiting for the right firmness before brooming ensures a durable, slip-resistant surface. Proper curing afterward seals the deal for long-lasting results. Perfect for sidewalks, driveways, and more!
Thanks for your comment, glad you found it helpful 🙂