1. Prep Is Everything:
Start with a Solid Foundation. The quality of your finish starts before you even mix the concrete. Think of this as the behind-the-scenes work that sets the stage for success.
How to prep for a smooth concrete finish:
- Clear the area – Remove all grass, roots, debris, and loose soil.
- Compact the base – I use a hand tamper or plate compactor for this.
- Add a base layer – Usually 2–4 inches of gravel or sand, depending on the project.
- Moisten the base – On hot days, a light spray keeps the ground from pulling water out of the mix too quickly.
- Check your forms – Make sure they’re level, secure, and well-oiled or lined with plastic to prevent sticking.
Note: A well-prepared base prevents shifting, cracking, and uneven drying, things that will ruin your smooth finish before you even start.
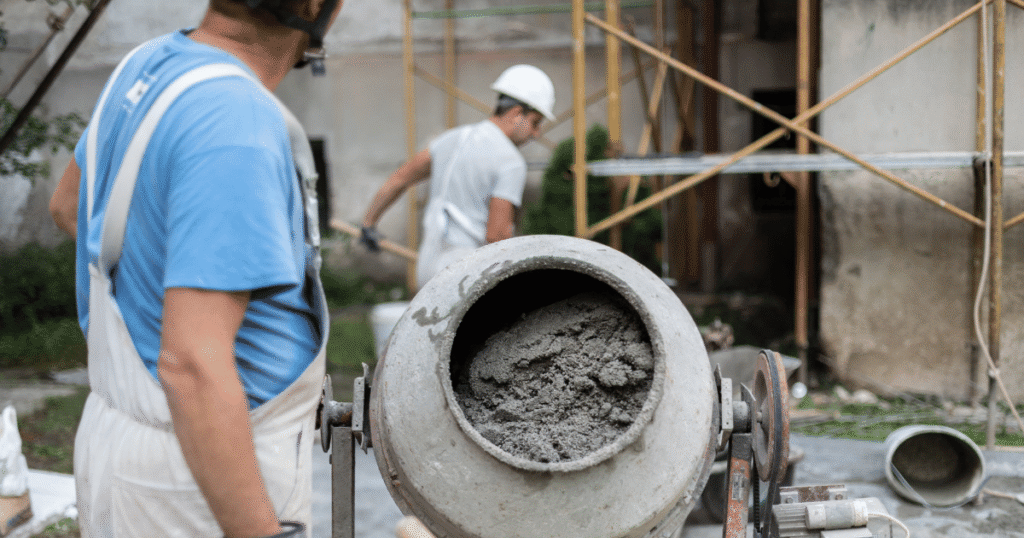
2. Mix Right or Regret It Later
Concrete mix consistency plays a huge role in how smooth your surface will be.
If your mix is too dry or too wet, you’ll struggle no matter how good your technique is.
My mix tips:
- Follow the water-to-mix ratio—don’t guess.
- Use a mechanical mixer when you can for even blending.
- Only mix what you can finish in one go.
- Never add extra water once it’s poured—this ruins the top layer.
Pro Tip: Aim for a mix that’s about the texture of thick oatmeal. You want it wet enough to flow and level, but stiff enough to hold shape.
3. Pour, Screed, and Settle
This is where things start moving fast. Once you pour, you need to work quickly to spread and level the concrete before it starts to set.
Key steps for a better pour:
- Pour continuously – Avoid stopping and starting. This helps prevent cold joints.
- Screed immediately – Use a long, straight 2×4 to level the top, dragging off excess and filling in low spots.
- Tap the sides – A shovel or concrete rake works to nudge the concrete into tight corners and remove air pockets. Tapping the boxing will help settle the concrete and remove air pockets as well. You can also use a concrete vibration tool for bigger jobs.
- Don’t overthink this step—just work steadily and confidently.
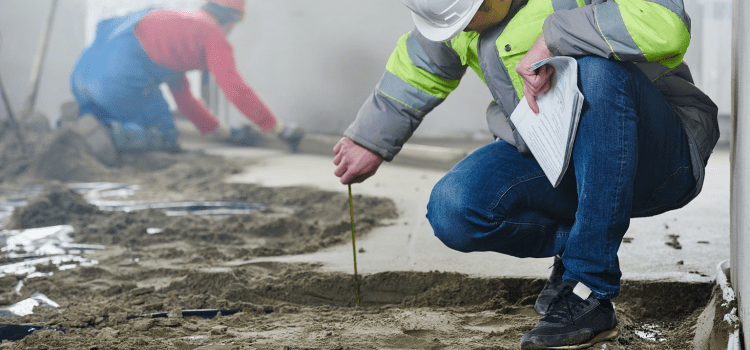
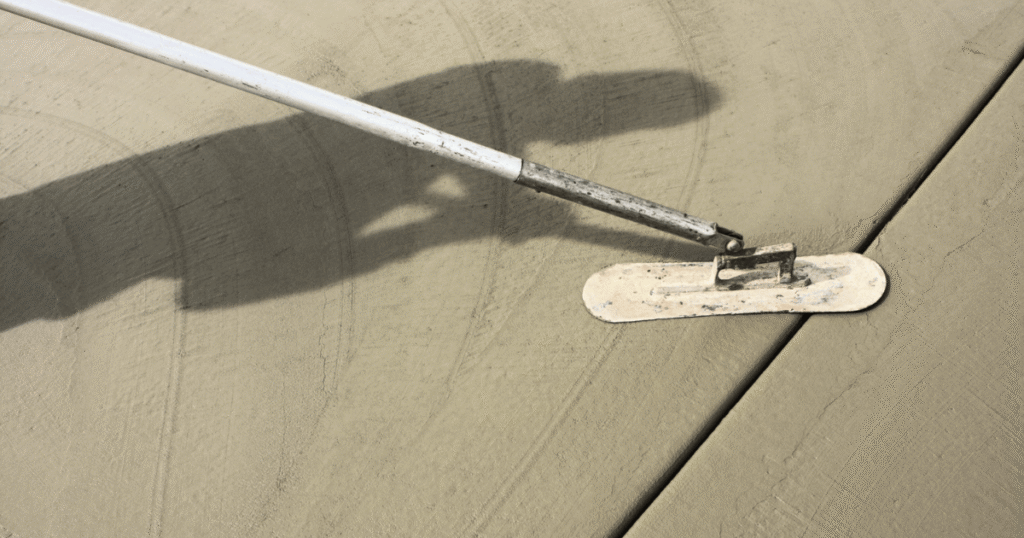
4. Floating: Your First Pass
To get a smooth finish after screeding, I let the surface sit just until the bleed water (that shiny sheen) starts to disappear. I will also check if it is not too soft by pressing on the concrete with my hand. If my hand sinks at all, it is too soft.
If I press down and my hand only leaves a print, not an indent, that is good to go.
Floating tips for a smooth concrete finish:
- Use a magnesium float for large areas, and a hand float for corners and edges.
- Hold the float at a slight angle and use light pressure.
- Don’t start too early or you’ll just churn up the surface.
Note: This step brings the fine cement paste to the top, which fills in small gaps and gives you that soft, velvety texture.
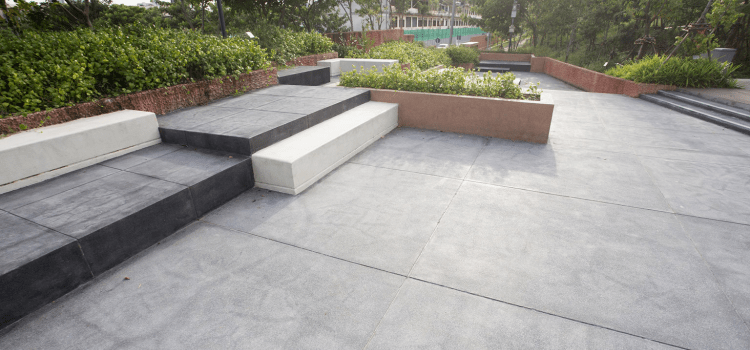
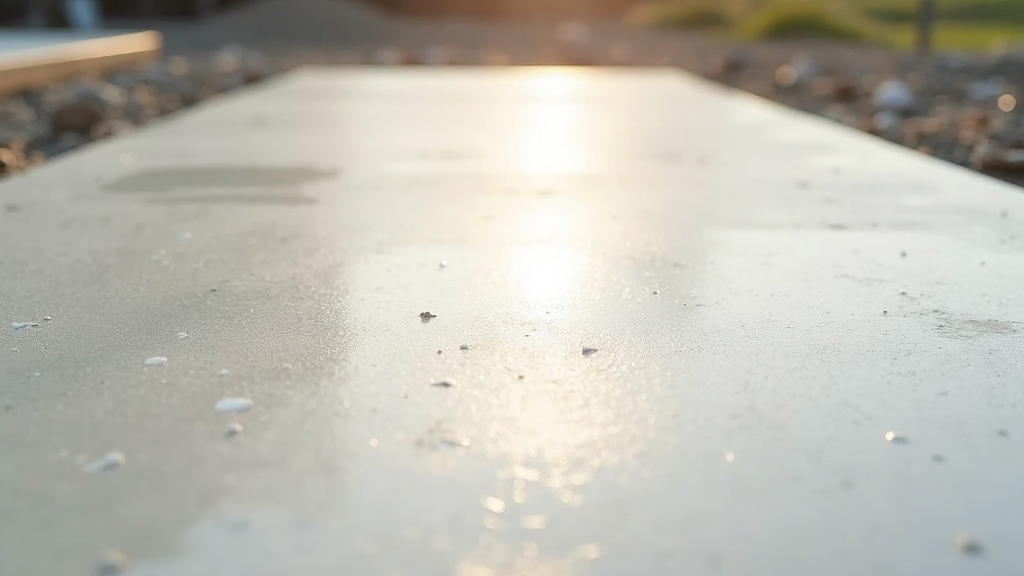
5. Troweling: The Secret Sauce to a Smooth Concrete Finish
This is the step where your concrete goes from “meh” to “wow.”
Troweling polishes the surface and gives it that professional, smooth look, which makes an easy-to-sweep surface and hardens the top layer of cement.
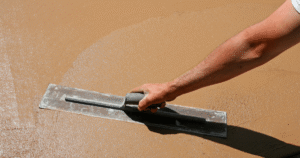
Here’s how I do it:
- Start once the concrete can support your weight with only a slight indentation.
- Use a steel trowel for the smoothest results.
- Work in multiple passes—start light, and increase pressure each time.
- Always keep the front edge of the trowel slightly lifted to avoid gouging.
Pro Tip: If you are hand troweling, you may need to go over the area you just troweled again! This will make the concrete even smoother again.
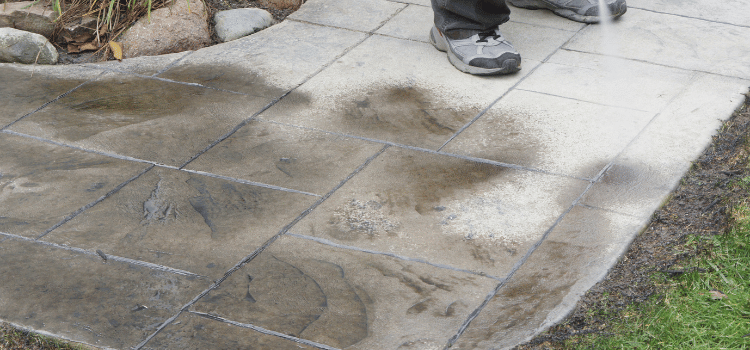
6. Don’t Ignore Weather and Timing
Weather can make or break your finish. I always keep an eye on the forecast and adjust my plan depending on the conditions.
Watch out for:
- Hot, dry days – Use a spray bottle or damp burlap to keep the surface from drying too fast.
- Cold or damp weather – Expect a slower set time, and leave forms on longer.
- Windy days – Wind pulls moisture from the surface and causes cracking. Consider windbreaks or protective sheeting.