

If you are experiencing hairline cracks or something deeper and wider in your concrete, learning how to repair concrete cracks can save you a lot of money and stress in the long run.
In this guide I will break down some simple and practical steps on how to repair concrete cracks in any type of concrete surface, whether it’s horizontal, vertical, indoor, or outdoor.
Why Do Concrete Cracks Happen In the First Place?
Before you jump into patching up cracks, it’s good to understand why they form. That way, you can prevent future issues or, at the very least, slow them down.
Here are the most common reasons for concrete cracking:
- Shrinkage: As concrete cures, it naturally shrinks. This is the most common reason for hairline cracks.
- Temperature changes: Expansion in hot weather and contraction in cold weather can cause cracking.
- Improper installation: Poor mixing, bad pouring practices, or lack of reinforcement can lead to structural weaknesses.
- Heavy loads: Overloaded driveways or garages may eventually crack under pressure.
- Soil movement: Shifting ground beneath the slab can create deep, structural cracks.
How To Repair Concrete Cracks In Driveways, Patios, and Floors
Hairline Cracks (Less Than 1/8” Wide)
These are mostly cosmetic but should still be sealed to keep out moisture and debris.
Steps to repair:
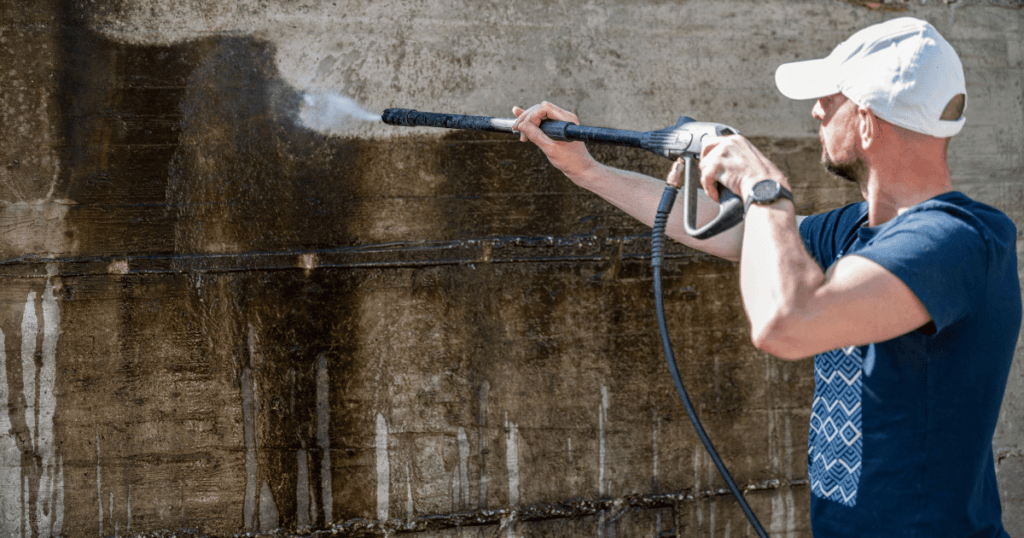
- Clean the crack with a wire brush or vacuum. Make sure there’s no dust or loose debris.
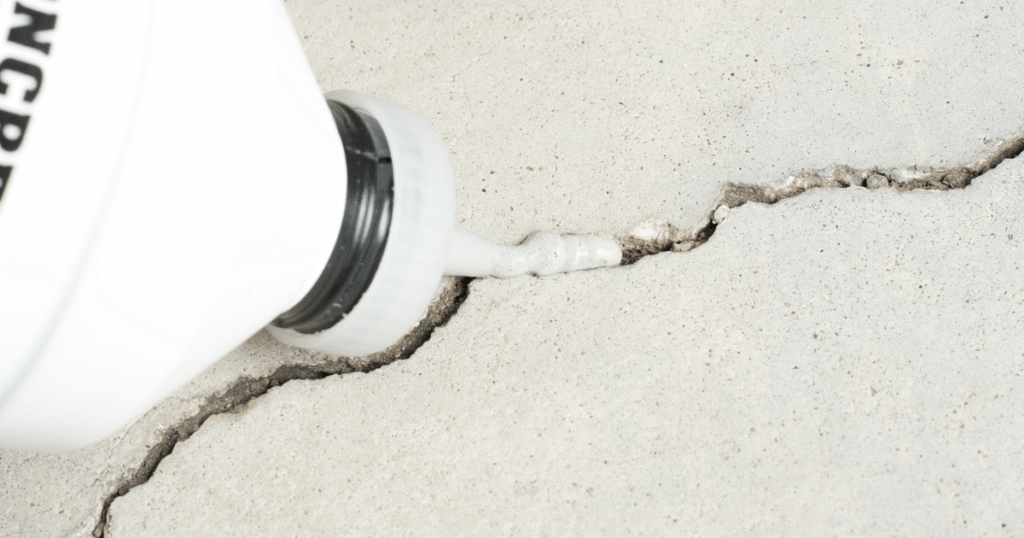
- Use a liquid concrete crack filler or a masonry crack filler for small gaps.
- Apply the filler directly into the crack using a caulking gun or squeeze bottle.
- Smooth the surface with a putty knife.
- Let it dry completely (usually 24 hours).
Pro Tip: Choose a filler that matches the color of your concrete for a cleaner look.
Medium Cracks (1/8” to 1/2” Wide)
These need a bit more effort but are still manageable with DIY products.
You’ll need:
- Concrete patching compound
- Trowel
- Chisel and hammer (optional)
How to do it:
- Widen the crack slightly with a chisel to create a clean edge (this helps the patch adhere better).
- Clean out all dust and debris.
- Mix the concrete patching compound as instructed.
- Trowel it into the crack, pressing firmly to eliminate air pockets.
- Smooth and level the surface.
- Allow it to cure fully before applying any weight.
Large Cracks (Wider Than 1/2” or Deep Cracks)
For these, you may need a more robust solution, especially if they go all the way through the slab.
Here’s what to do:
- Use backer rod (a flexible foam material) to fill in deep gaps before applying the patch.
- Fill the top with a concrete repair caulk or epoxy concrete repair product.
- For structural cracks, consult a professional—you don’t want to ignore major damage.
How To Repair Concrete Cracks In A Vertical Surface
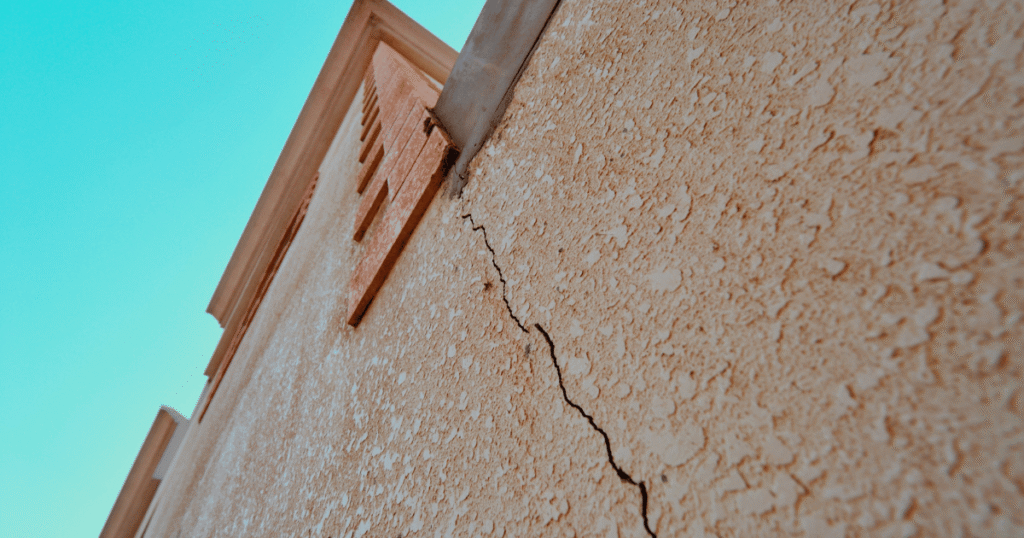
Vertical cracks in walls or foundations need special attention since water intrusion can be a problem.
When fixing vertical cracks:
- Use an injection epoxy kit or polyurethane foam injection, these are designed for vertical surfaces.
- Make sure to clean and dry the area completely before injecting the repair compound.
- Some kits include ports that allow the epoxy to flow deep into the crack.
Tools You Will Need To Repair Concrete Cracks
You don’t need to own a workshop to take care of this task. Most of these tools can be picked up at your local hardware store.
Basic tools list:
- Wire brush
- Vacuum or air blower
- Caulking gun
- Putty knife or trowel
- Chisel and hammer (for deeper cracks)
- Crack filler or patching compound
- Gloves and safety glasses
Pro Tip: Having your tools or gear set up and ready before you make a start means faster productivity and less walking around.
Bonus: Tips To Prevent Future Concrete Cracks
Sure, learning how to repair concrete cracks is helpful—but it’s even better to avoid them in the first place.
Here are some preventive tips that you may want to use or try:
- Use control joints: These are intentional lines placed in concrete to help it crack in a straight, predictable way.
- Seal the concrete: Water can be a major enemy. Use a high-quality sealant every few years.
- Ensure proper drainage: Standing water leads to soil erosion, which causes concrete to shift.
- Don’t overload surfaces: Avoid parking oversized vehicles or placing heavy machinery on unsupported concrete.
- Maintain surrounding landscaping: Roots can lift and crack concrete slabs over time.
Common Mistakes To Avoid When You Repair Concrete Cracks
Even though it’s a relatively simple job, there are a few common mistakes that could mess things up:
- Not cleaning the crack properly before applying filler.\
- Using the wrong type of filler (indoor vs. outdoor, flexible vs. rigid).
- Overfilling or underfilling the crack.
- Not allowing enough drying or curing time.
- Ignoring deep or structural cracks that may need professional help.
My Final Thoughts
Learning how to repair concrete cracks doesn’t require a degree in engineering.
Whether you’re dealing with fine hairline cracks or something more serious, there’s usually a DIY solution that works.
The key is using the right products, prepping your surfaces, and not rushing the job.
Over time, all concrete cracks, this is just the nature of the material. But with regular maintenance and quick repairs, you can extend the life of your concrete and keep it looking clean and strong for many, many years.
So the next time you spot a crack, don’t ignore it. Grab your tools, follow the steps above, and get it fixed before it gets worse.


Great blog! Repairing concrete cracks the right way helps prevent further damage, restores structural strength, and extends the life of any concrete surface.
Thanks… Bang on! The earlier fix the better.