
Concrete vibrators are tools that don’t always get a lot of attention, but they truly make a big difference on any construction project involving concrete. If you’ve ever wondered why perfectly smooth, crack-free concrete slabs seem so tough to achieve, the answer often depends on how well the concrete was compacted.
Properly vibrating the concrete boosts its strength, durability, and finish. This matters for everything from driveways to high-rise buildings. In this guide, I’ll walk you through what concrete vibrators are, why they matter, and how to use them smartly and safely.
What a Concrete Vibrator Actually Does
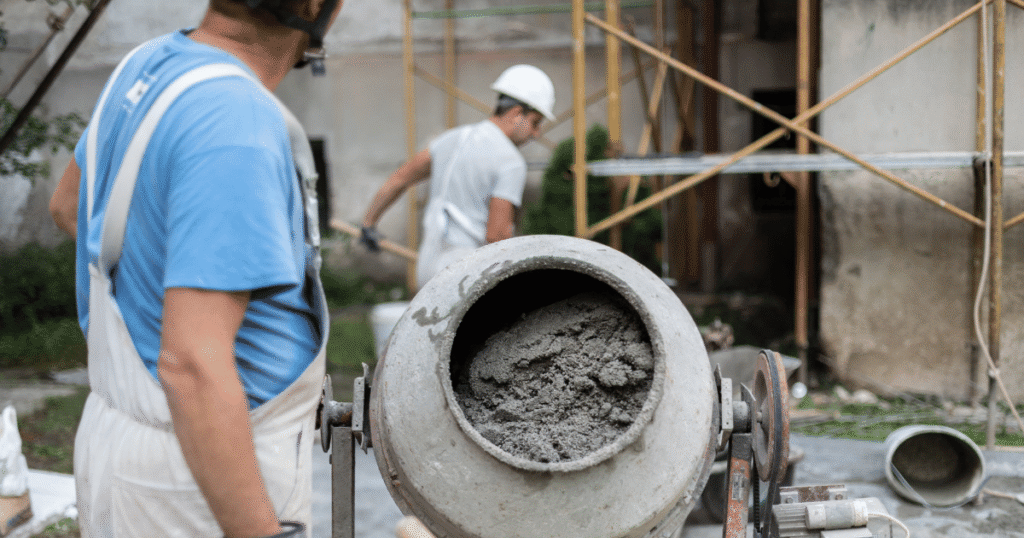
Fresh concrete isn’t just rock powder and water stirred together. When you mix and pour concrete, lots of air bubbles get trapped inside. Without getting rid of these voids, your slab can turn out weak or full of holes. Concrete vibrators work by shaking or vibrating the wet concrete at a high frequency. These movements help lift air bubbles to the surface and pack the heavy particles together tightly.
If you’re picturing a huge clunky machine, that’s not always the case. Some concrete vibrators are handheld wands; others are bigger or even built into formwork. The main goal is to make sure your whole batch of concrete settles as densely and evenly as possible before it sets.
Different Types of Concrete Vibrators Explained
Concrete vibrators come in several types, and knowing which one to pick depends on your project. Here are the main types you might come across:
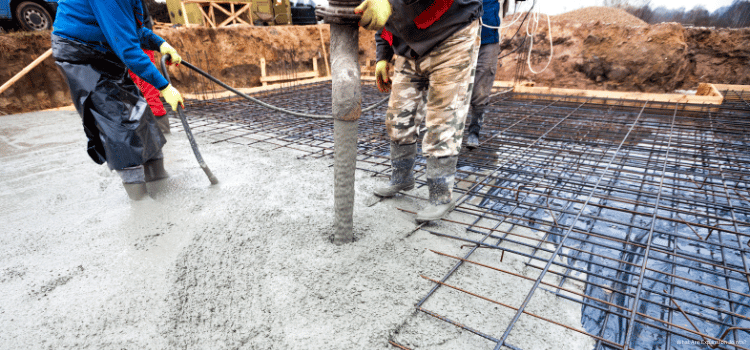
- Internal (Needle) Vibrators: Probably the most popular kind. These use a long narrow probe, sometimes called a needle or poker, which you stick directly into the wet concrete. The probe vibrates to shake the bubbles out right where they form.
- External Vibrators: These attach to the formwork or mold instead of going into the mix. They vibrate the concrete through the edges by shaking the forms. This technique works well for precast molds, columns, and thin structural pieces.
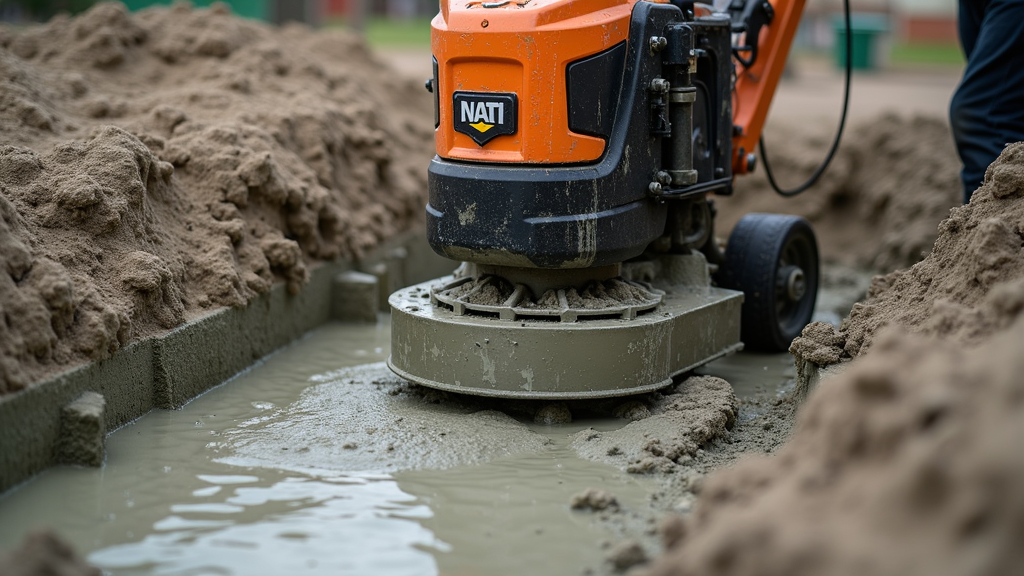
- Surface Vibrators: These set right on top of the poured slab. They’re ideal for flatwork like pavement, where you want a smooth surface but don’t need to reach deep into the mix.
Each type does the job a little differently, so picking the right one for your situation makes things easier. Internal vibrators tend to be the standard choice on most construction sites, while external and surface types are handy for specialized pours or complex forms.
Why Vibrating Concrete Matters
You might ask: is vibrating concrete really necessary? The short answer is yes, especially if you want your structure to last. Here’s why it matters:
- Strength: Pushing air bubbles out makes the mix denser and gives you stronger concrete. That’s a must for anything structural, such as foundations or supporting walls.
- Durability: A dense slab is less likely to crack, crumble, or suffer hidden corrosion over time.
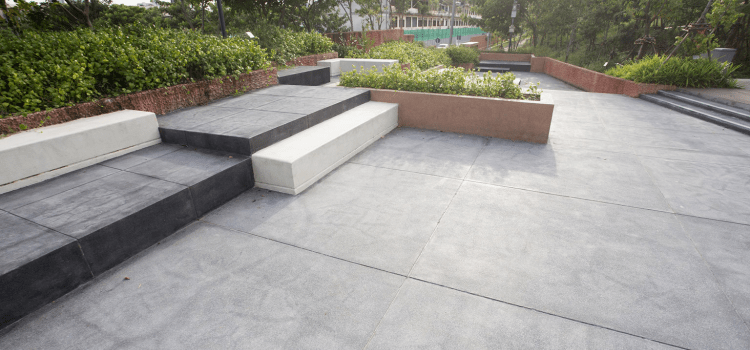
- Even Surface: Vibrating concrete gives a smoother, eye-catching finish, which makes painting or sealing much easier later on.
- Fewer Voids: Good compaction reduces the risk of “honeycombing” — those crumbly voids or open pockets that weaken concrete and can show up later as major problems.
Skipping the vibration step might seem like a timesaver, but it almost always causes more trouble (and expense) down the road, especially if you have to fix a weak slab or chase down cracks and holes later.
Key Features to Check Out in a Concrete Vibrator
If you’re shopping for a concrete vibrator, some features make the job much simpler and the results a lot better:
- Power Source: Some are electric, others run on gasoline. Electric models get used all the time because they’re convenient and don’t make fumes, but gaspowered models shine at remote sites with no outlets.
- Poker Diameter: The width of the vibrating tip matters. Wider tips cover more area and finish the job faster, but they may be tough to fit into tight spots. For general-purpose work, something around 35–50mm does the trick.
- Vibration Frequency: More frequent vibrations (in Hertz or cycles per minute) drive out air better. Most construction sites use models in the 7,000 to 12,000 vibrations per minute range.
- Length and Flexibility: Longer flexible shafts help you reach into deep or awkward forms, making tricky pours much easier to handle.
- Cleaning Ease: Concrete is messy and hardens fast. A tool that’s quick and easy to clean pays off after every pour.
If you’re unsure which features matter for your task, ask your local tool rental folks or check out a few reviews online to see how specific models hold up under real job conditions.
Getting the Basics of Concrete Vibrating Right
Even a first-rate vibrator won’t help much if you’re not using it correctly. Here are some starter tips to nail the basics:
- Insert the vibrator straight down: Push the probe down vertically to the right depth — avoid forcing it from side to side so the mix settles out evenly.
- Work in sections: Don’t just vibrate one spot and hope it covers everything. Move the probe methodically through the pour at spots about half a tip’s width apart.
- Wait a few seconds per spot: Usually, 5 to 15 seconds per location does the job. Watch for the rising bubbles to slow down or stop before moving on.
- Pull out slowly: To avoid leaving a void behind, withdraw the probe slowly and steadily from each spot.
- Don’t overdo it: Vibrating too long can make the heavier aggregate sink, leaving a weak top layer. Just enough to remove air and settle the mix is all you need.
Getting these basics right can be a game-changer for your project. Even for small DIY patios or garage slabs, they’ll give professional results you’ll notice right away.
Things to Consider Before Using a Concrete Vibrator
Concrete work can feel intimidating at first. Vibrating the concrete isn’t hard, but keep a few things in mind to keep your jobsite safe and your finished work strong:
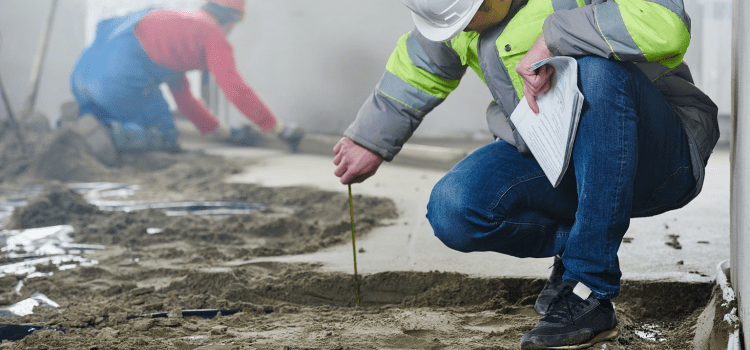
- Safety Gear: Vibrators can get loud and send up spray. Always wear hearing protection, gloves, goggles, and a dust mask as needed.
- Tool Maintenance: Give any tool (especially rented gear) a onceover for worn parts and damaged cords before getting started.
- Pacing: Don’t rush or pause too long — you want to finish vibrating before the concrete sets. Get all gear and helpers lined up before the pour begins.
- Mix Consistency: Very stiff or dry mixes are tough to vibrate well. Make sure your concrete stays workable, so the vibrator can perform as needed.
- Watch for Overdoing It: Too much vibration can bring water to the top, weakening the slab. Use a gentle, consistent touch and keep an eye on the result.
Covering these bases will help your pour run smoothly, avoid common mistakes, and make cleanup less stressful at the end.
Solving Some Common Problems
Even when you know what you’re doing, some pours don’t go as planned. Here are some typical bumps in the road and how to handle them:
- Honeycombing (voids in the slab): This usually means you didn’t vibrate enough or missed an area. Try smaller intervals and make sure the probe reaches every corner next time.
- Surface Bleeding: If you see water pooling on the surface, you may be vibrating too long or your mix might be too wet. Shorten vibration time and check your mix before the next round.
Learning from these hiccups, and not getting discouraged makes a big difference. Each job gets easier with experience and observation.
Top Tips for Great Results
Bumping up your concrete skills takes more than just having the right gadget. Over time, these real-world tips always come in handy:
Map out your steps: Detailed planning means less stress after the pour starts. Lay out who does what and in what order so you don’t lose track when things get busy.
Overlap each vibrating area: Always let each vibration zone overlap the edge of the previous one. This avoids leaving weak patches or hidden pockets of air.
Try external vibrators for detailed work: Projects involving molds, thin forms, or decorative pieces gain a true boost from external vibrators, which help fill every corner without disrupting the main mix.
Enlist help on larger pours: Having another person to keep you supplied and keep things moving helps a lot on big jobs, especially when the time window between placing and setting is tight.
Stick to these simple habits to get professional-looking slabs and avoid frustrating callbacks or rework down the road.
Everyday Uses for Concrete Vibrators
Concrete vibrators aren’t just for bridge decks or skyscrapers. Here are some other places where they come in handy:
- Patios and Sidewalks: Even small home projects benefit from a better surface and longer-lasting slab.
- Foundations and Footings: These are critical for structural stability — well-packed concrete here can save headaches far into the future.
- Columns, Beams, and Precast Shapes: Dense, well-settled aggregate means safer, longer-lasting supports.
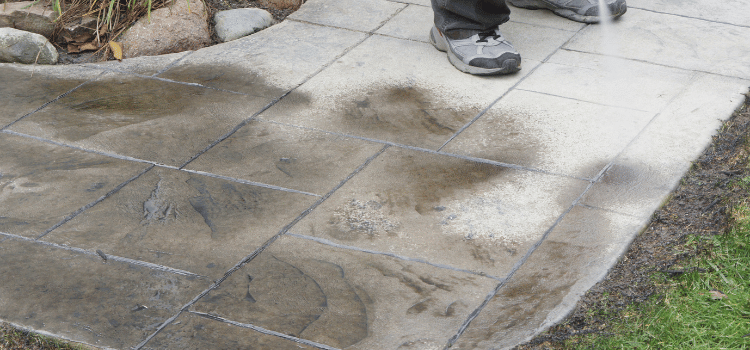
- Decorative and Garden Molds: Want sharp lines and clean details on a custom paver, garden statue, or tile? Using a vibrator brings out every detail in your molds.
Anytime you want a sturdy, professional finish, a concrete vibrator is worth considering, even for your smallest projects.
Frequently Asked Questions
Getting started with concrete vibrators brings up plenty of questions. Here are a few that most new users ask:
Question: How can I tell if I’ve vibrated enough?
Answer: Keep an eye out for bubbles to stop rising to the surface. When the surface starts looking glassy and all the air pockets are gone, you’ve done enough. If in doubt, aim for about 5-15 seconds per spot and make sure to reach every part of the pour.
Question: Is it okay to use rented vibrators on different mixes?
Answer: Yes—just always clean the tool thoroughly between jobs. Old concrete stuck to the tip or shaft can undermine performance and mix types you don’t want combined.
Question: Can I ruin my slab by over-vibrating?
Answer: Overdoing it can cause the heavy sand and stone to settle at the bottom and produce a weak, watery surface. Watch carefully, use a moderate speed, and stop as soon as the bubbles slow down.
Wrapping Up: How to Make the Most of Concrete Vibrators
Using a concrete vibrator might just seem like another extra step, but it’s hugely important for making your concrete jobs stand the test of time. The right tool and smart methods lead to smoother surfaces, fewer cracks, and tough slabs that last through any weather.
Whether you’re pouring a simple sidewalk or an intricate decorative mold, it’s worth taking a little extra time to vibrate your mix; it’ll make a clear difference.
If you need a hand getting started, don’t hesitate to ask for advice at your local rental shop or hardware store; they’re usually a great resource. Try it out on your next project; with a little practice, you’ll be glad you did.