In this article, I will explain what is power floating concrete, and why we need to power-float some jobs and not others.
Power-floating concrete is a very important aspect of the concrete finishing process, and if done right, your job will last longer, look better, and the surface of the concrete will be harder.
What Is Power Floating Concrete
Power floating concrete is a skill that can be picked up fairly easily, and if you have never used a concrete power float it can be rather daunting process to learn.
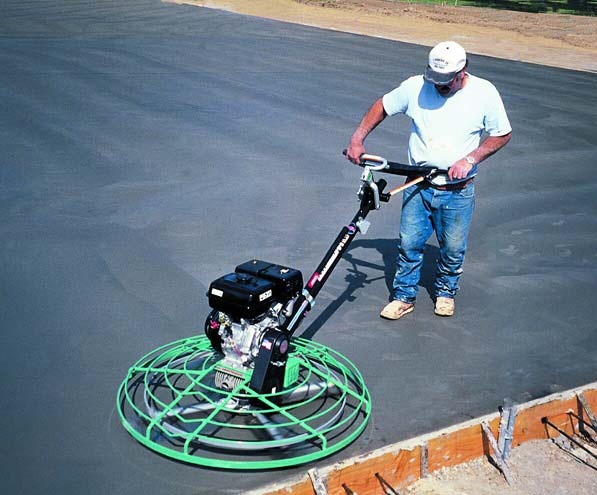
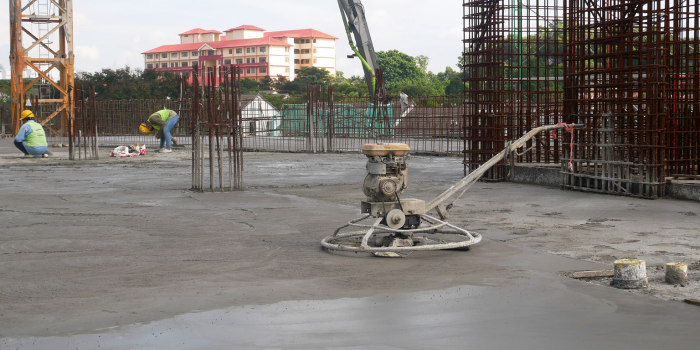
A power float is a motorized troweling machine used to help flatten and harden the surface of concrete.
The process is simple and consists of working your way over the concrete in a certain pattern with the power float.
As you move along with the concrete power float it trowels the concrete as you go.
What Is Power Floating Concrete For?
The main job of a power float is to flatten and take out any lines left left in the concrete after the placing and bull floating process, however, there are many other reasons the power float helps that are not so often talked about or mentioned.
What is power floating for?
- Helps remove small lines and other raised imperfections.
- Helps smoothen the top layer of concrete.
- Helps remove air pockets in the concrete
- Helps cement rise to the surface ( When still workable )
- Helps the surface of your concrete seal
- Will get a harder finish on your concrete than not power floated
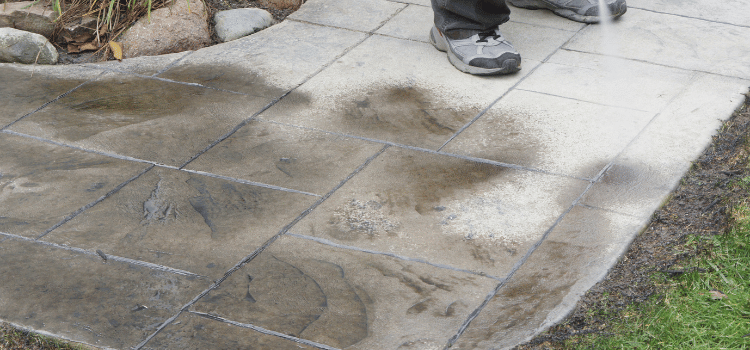
Do You Need To Power Float Concrete?
There are many concrete jobs that should be power floated like driveways, garage floors, large warehouses, etc., and many that don’t need to be power floated.
This is because the surface of a footpath will not have the same wear as a grain silo that is scraped with a loader bucket over and over again.
Concrete Jobs That Should Be Power Floated…
- Heavy machinery workshops
- Driveways
- Shed floors
- Effluent tank floors
- Syladge pads
- Grain or gravel storage bays
- House floors
Learning how to use a power float usually does not take long, however knowing how to finish your concrete pad to a high quality is another story.
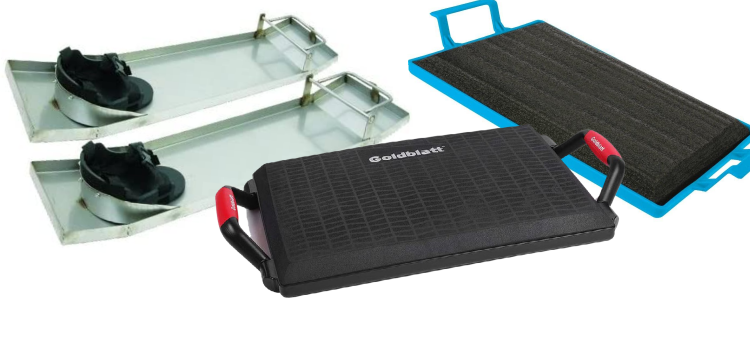
If you are without a concrete power float, hand troweling the pad with a set of concrete knee boards, trowel and magnesium float, will suffice.
This will not give you the same compaction and surface hardness a power trowel will give you, although this will be smoother and tougher than using a pole trowel or leaving it bull-floated.
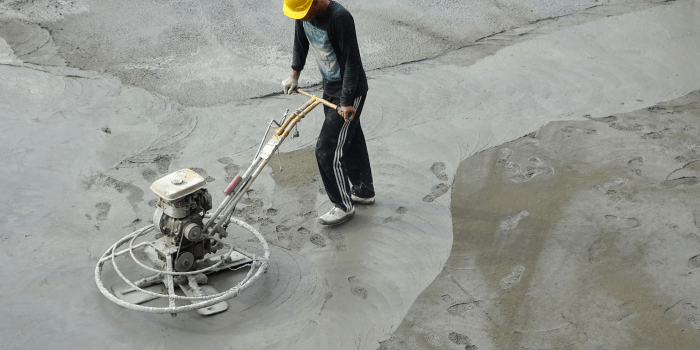
Power Floating Concrete Floors
Over the years placing and finishing concrete became not only a way to make a living, but it was a form of art…well, almost!
Finishing concrete floors takes practice and learning what time to start power floating and how long to leave it in between cuts.
Every day is different, and for the bulk of it most floors are almost the same process, but what does change is the weather.
I learned to place and finish concrete in some of the harshest weather conditions in New Zealand, and trust me when I say, the experience can not be bought.
Here are a few power floating tips I have learned over the years of placing and finishing carrier.
Power Floating Tips
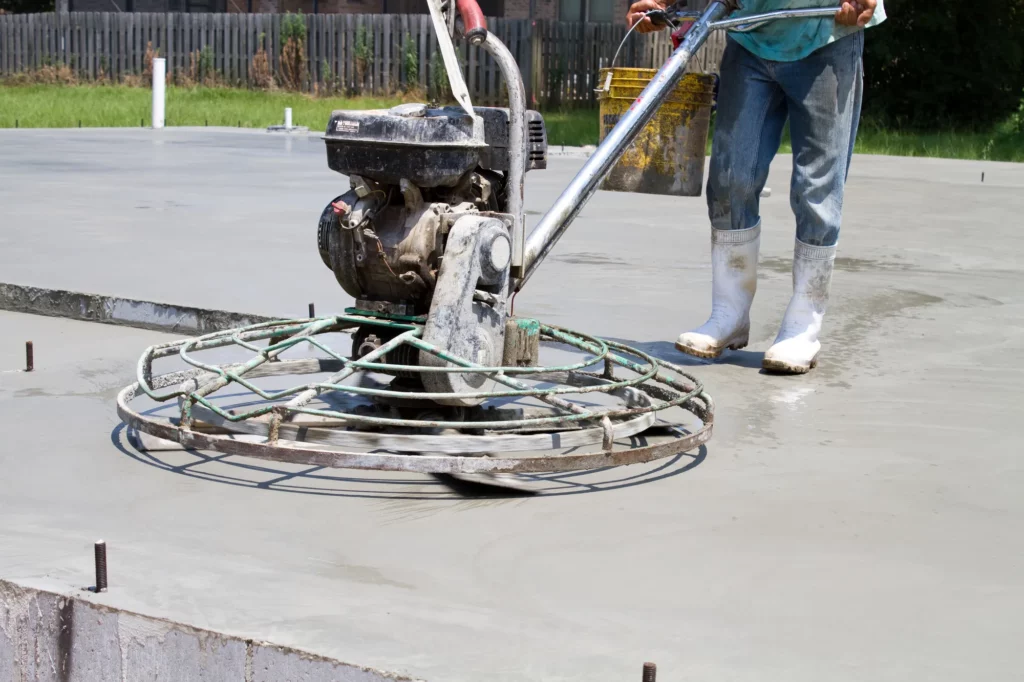
- Don’t be too eager to get on the floor, you should not be sinking when standing on the surface, just faint imprints.
- Make sure the power float blades are clean before putting the machine on the concrete
- Water can be a savior when the sun is beating down, use an old coke bottle with a few nail holes punched through the lid, this is a good water sprayer that you can hold when power floating and is more direct and controlled than a garden hose.
- Turn the blades of the power float clock ways before starting each cut. Concrete can stick to the blades when resting after cuts, if this happens, once started the blades will rip that section of concrete out.
- Stay away from edges with low boxing pegs or loose plastic, reinforcing rods, etc, it only takes a second to hit a peg or strike plastic and can be a world of drama to fix afterward, and edges should ideally be done with a hand trowel.